Rocky Mountain National Park Photography: Locations, Permits, and What You Actually Need to Know
If you’re planning a photography session at Rocky Mountain National Park, the location is the easy part. RMNP delivers the kind of alpine scenery that makes almost any photo look good. The harder part is understanding the logistics: timed entry reservations, commercial permit requirements, unpredictable weather, and parking situations that can derail an entire shoot before you ever lift a camera. If you’re curious how RMNP fits into the broader range of Colorado photography locations, that’s a good place to start. This guide covers the practical planning details that trip up a lot of photographers, along with honest notes on the three locations I keep coming back to.
Planning Your Rocky Mountain National Park Photography Session: Entry Requirements and Permits
Before you book anything, here is the piece most photographers overlook: RMNP requires timed entry reservations during peak season, typically May through October. You can’t just show up at 7am and expect to get in. Reservations fill fast, and if you’re coordinating a session with a family or couple, you need to plan accordingly.
For commercial photography specifically, the National Park Service requires a Special Use Permit. This applies to professional photographers shooting paid assignments, including family photography sessions and portrait work. The permit covers restrictions on location, session duration, and group size, and you’ll generally need to request it 30 to 45 days in advance, though this timeline can change, so confirm with NPS directly. If you’re looking at RMNP for engagement and couples portraits, the commercial permit process is something we’d need to work through together before scheduling anything.
Personal photography (you shooting on your own, no hired photographer) does not require a permit at most locations. But the timed entry reservations still apply.
A word of caution here: NPS permit policies and reservation requirements do change. Before you book any professional session at RMNP, verify current requirements directly with the National Park Service. I do this every season, because regulations that applied last year may not be current today.
Three Premier Photography Locations in Rocky Mountain National Park
I’ve spent a lot of time in RMNP and keep landing on the same three spots when people ask where to shoot. Each one has a different feel and works better for certain kinds of sessions.
Sprague Lake
Sprague Lake is probably the most accessible shooting location in the park. The loop trail is about half a mile and flat, which matters a lot if you’re working with young kids or anyone who isn’t up for a hike. Year-round parking is available here, which is rare for RMNP. The lake reflects the surrounding peaks beautifully when the water is calm, and you get that calm almost exclusively in the early morning. By mid-morning the wind picks up and the surface gets choppy. If you’re planning a portrait or family photography session here, I’d aim for a sunrise start.
Moraine Park
Moraine Park is a wide open meadow with the Big Thompson River running through it. It’s my favorite spot for that misty, soft sunrise light, because when conditions are right, mist rises off the river and the whole scene gets this quiet, cinematic quality. Multiple access points make it flexible for positioning. Keep in mind that some roads in Moraine Park have seasonal winter closures, so check ahead if you’re planning an off-season visit. This location works well for wildlife photography too, though I’d never promise what wildlife you’ll actually see on a given morning.
Bear Lake
Bear Lake sits at the highest elevation of the three locations, and that changes the experience. The loop trail runs about 1.6 miles, so plan for more walking. The peak reflections in calm water can be genuinely striking, but the same rule applies here as at Sprague Lake: you need to arrive early. Parking is extremely limited during peak season, and midday crowds at Bear Lake can be dense enough to make portrait work feel awkward. Strong afternoon winds are also common, which disrupts water reflections. Early access is the move.
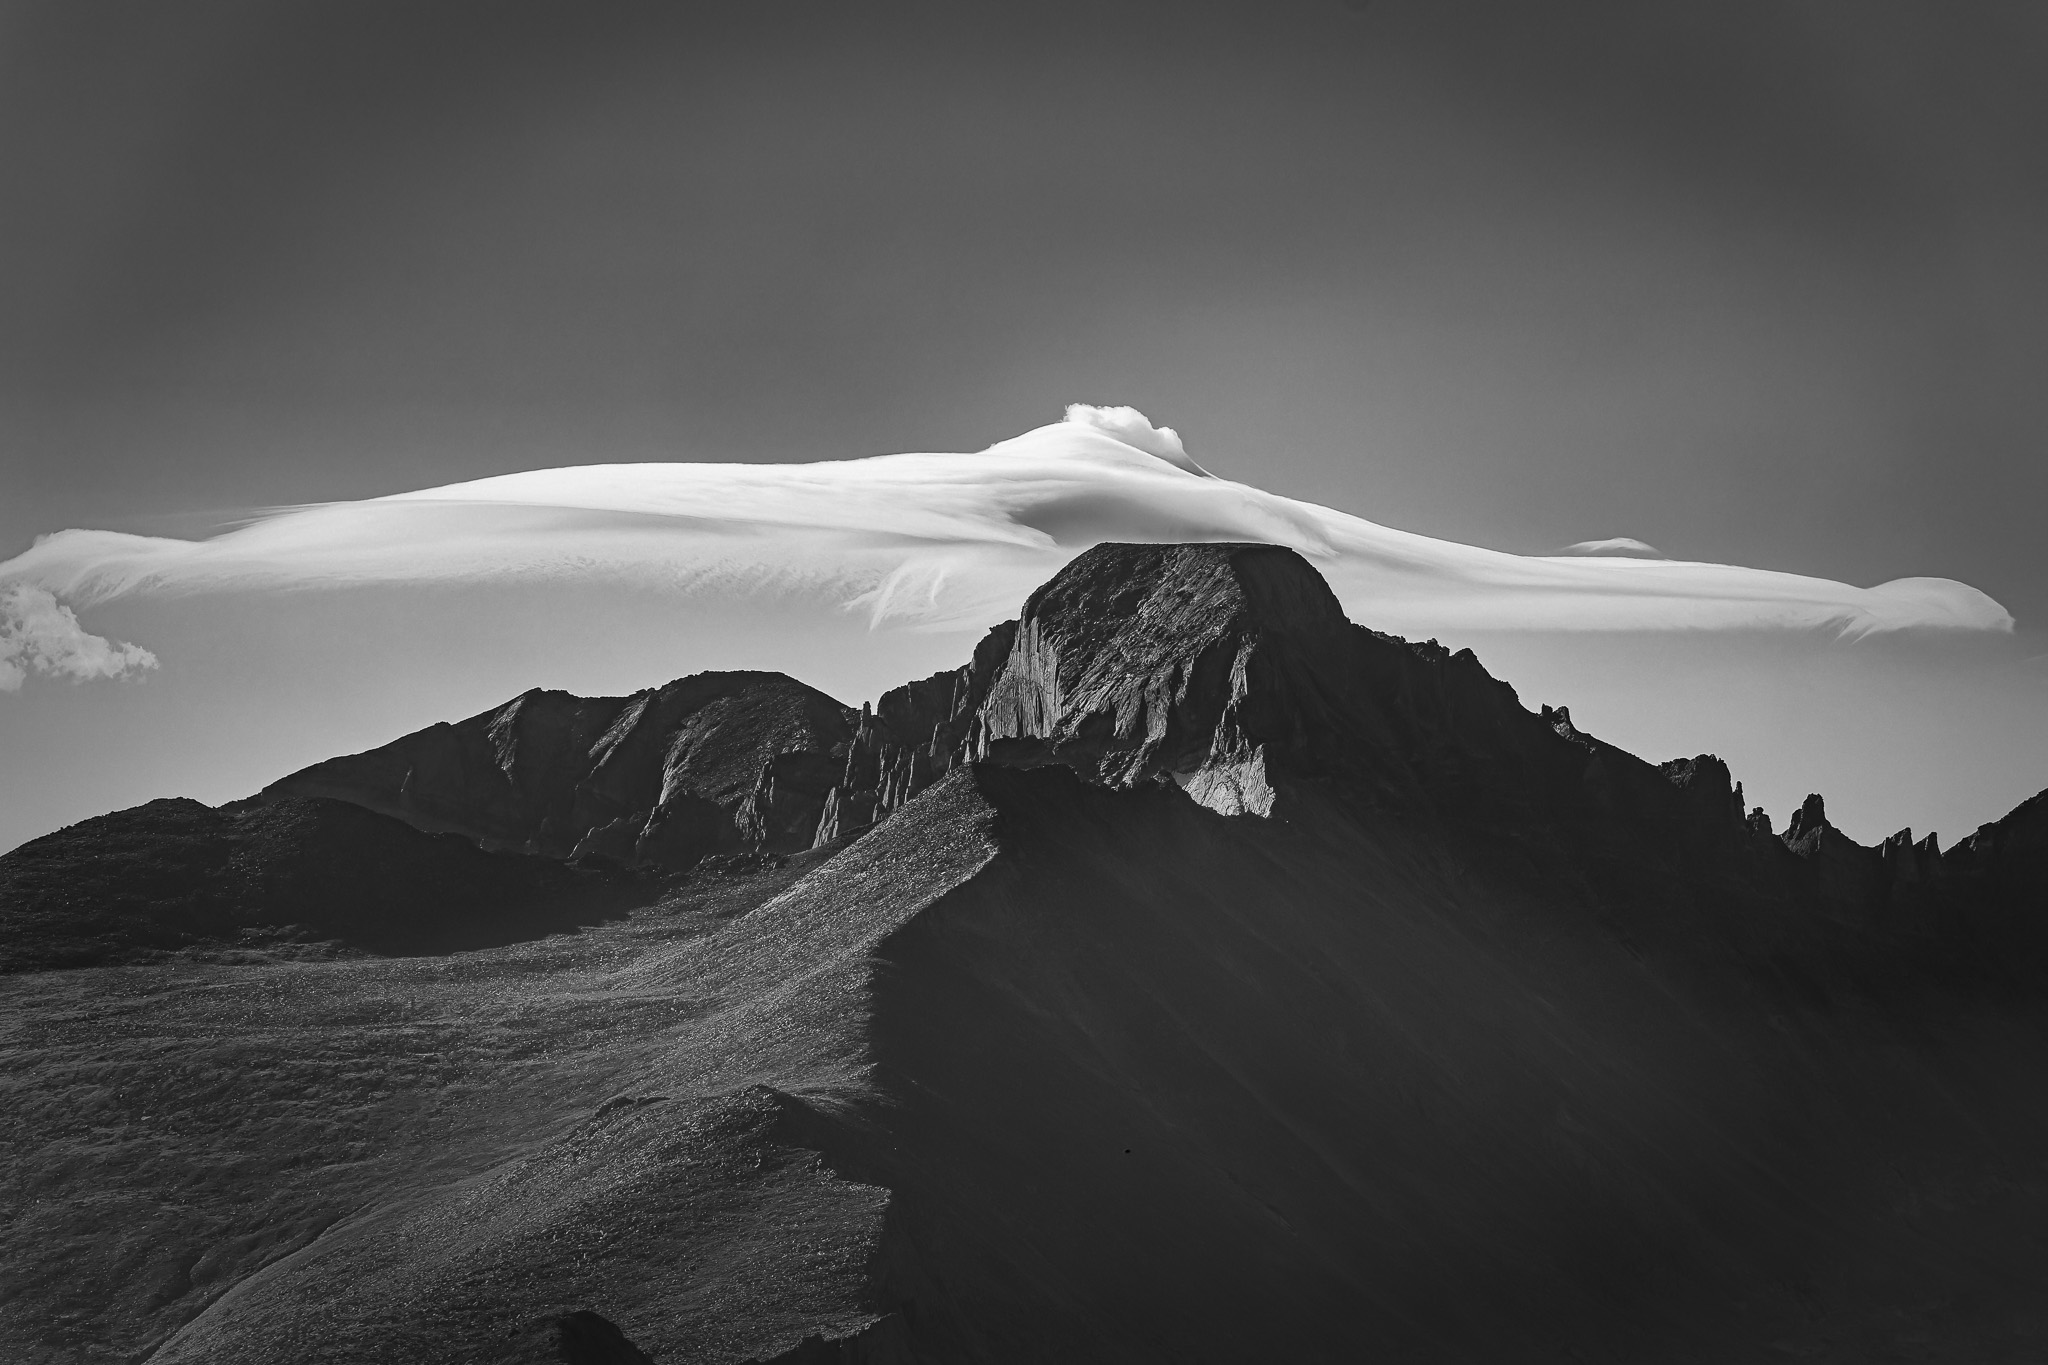
Understanding RMNP’s Unique Elevation and Weather Conditions
RMNP’s elevation ranges from around 8,000 feet to over 12,000 feet. That altitude changes how you experience lighting and weather in ways that can catch photographers off guard, especially those newer to mountain shooting.
Golden hour is shorter up here than what most people expect. The window for soft warm light tightens noticeably compared to shooting in Boulder or down on the Front Range. Build that into your timing.
Afternoon thunderstorms are common throughout summer. This isn’t a “maybe it’ll rain” situation. Mountain storms can build fast, and being above treeline when lightning rolls in is genuinely dangerous. I plan all my RMNP sessions to wrap up well before early afternoon in summer. Early morning shoots also give you calmer water for reflections and smaller crowds, so the timing works on multiple levels.
Flexible scheduling and safety awareness aren’t optional up here. They’re just part of how you plan.
Essential Gear and Safety Considerations for Mountain Photography
Layering is something I never skip for RMNP shoots. Temperatures can drop significantly from the trailhead to the shooting location, and what felt fine at 7am can be cold and windy by 9am. I always pack one more layer than I think I’ll need, and I’ve never regretted it.
UV exposure at elevation is stronger than most people expect. Sunscreen, sunglasses, and a hat are worth having even on overcast days. My outdoor photography work has taken me to a lot of high-altitude spots around Colorado, and the sunburn I got my first summer here was a lesson I only needed once.
A few other practical things worth packing:
- Sturdy footwear with solid grip, even for the accessible trails. RMNP terrain can be uneven.
- Extra camera batteries. Cold temperatures drain battery life fast, and you don’t want to lose power during a sunrise session.
- Weather protection for your gear. A sudden rain shower can arrive faster than you expect.
Plan shorter shooting windows than you think you’ll need, get there early, and leave yourself time to get off the trail before afternoon weather arrives.
Scheduling Your Session: Seasonal Timing and Crowd Management
Timed entry reservations typically run from May through October, which covers most of the high-traffic photography season. The reservations exist because RMNP gets genuinely overwhelmed in summer. For any session during that window, I build reservation planning into the booking process.
Many photographers prefer shoulder season for RMNP work. Late May into early June and September into early October tend to offer a reasonable balance of decent weather and smaller crowds. September can offer excellent conditions, with some fall color beginning at higher elevations, and noticeably thinner crowds than August.
Winter opens up a quieter version of the park, but come prepared for road and parking limitations. Some areas that are easy to access in summer require snowshoes or aren’t accessible at all in winter. It can be worth the extra planning effort, but verify conditions before you go.
What season makes sense depends on what you’re trying to photograph. Family sessions with young kids often work better in warmer months when there’s flexibility for kids to move around comfortably. Landscape work might actually favor shoulder seasons or winter for the mood and the solitude.
Ready to Plan Your Session?
If you’re thinking about a shoot at RMNP, let’s talk through the details before locking anything in. Permit requirements, timed entry logistics, and the right location for your specific goals are exactly the kind of logistics that trip up a lot of photographers, and sorting them out upfront makes everything else easier. Reach out here and we can figure out which spot in the park fits what you’re going for.